


Yesterday, I promised a photo tutorial for this card that I made for the August Pals Blog Hop. See that blog post here.
One of my friends and customers, Linda Lais showed me a card that she had made in this style. I loved the Fancy Fold design and had to make one for myself.

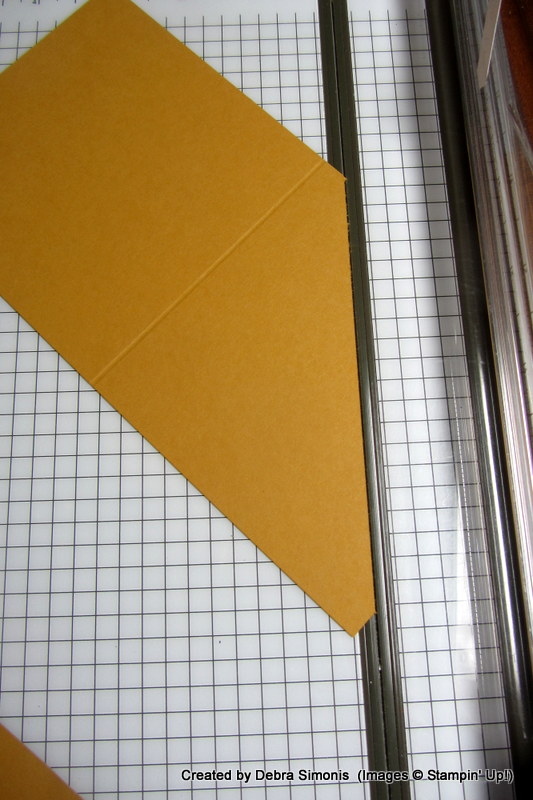
The card base is 4″ X 8″; score at 4″. To cut the diagonal, position the score line of the card base and the bottom corner of the card base, both on the 1/4″ line of the Stampin’ Trimmer. Make the diagonal cut.

It should like this on the Stampin’ Trimmer after you make the cut.
And look like this when the card base is laid out flat.

The Very Vanilla insert is 3- 1/4″ X 7-1/2″; score at 3-3/4″. Adhere to the card base like this.

Now you are ready to decorate the front of the base and the front of the insert as desired. I started with a 4″ X 4″ piece of Designer Series Paper and cut it on the diagonal just like I did the card base. The Rich Razzleberry piece was cut at 3″ X 3-1/2″.
Give this style Fancy Fold card a try. I’d love to see a photo of your creation!
Join me on Oct. 1st for a World Cardmaking Day Stamp Camp. It’s going to be a FUN, inspiring day! You can also find me on Facebook at Deb’s Stampin’ Grounds.
Thanks for stopping by. Happy Stamping!
Deb


Pingback: Cookie Cutter Christmas – too cute to eat! – Deb's Stampin' Grounds