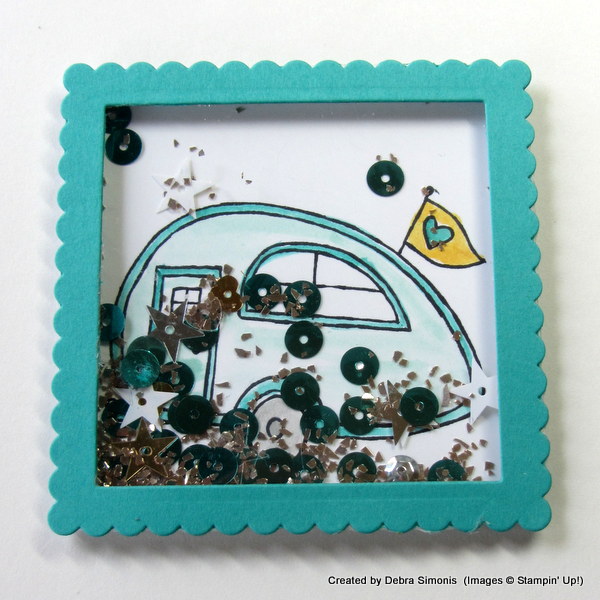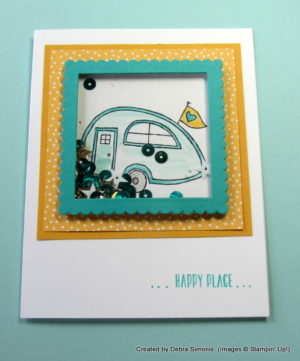
I am involved with a Card Ministry at my church; cards are sent to members of the congregation when needed. New Baby, Thinking of You, Get Well, and Sympathy are sent out to let people know that their Church Family remembers them.
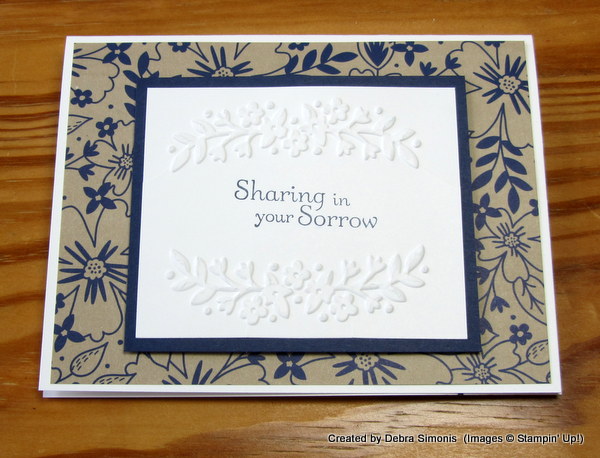
Our stash of Sympathy Cards has been depleted and I designed this quick and easy card. I’ll make several more changing the Designer Series Paper. We are planning a card making event and I like to keep the cards simple so new stampers are successful when they come stamp with us for the first time.
Stamp Set – Thoughts and Prayers
Cardstock – Night of Navy, Whisper White, Affectionately Yours Specialty DSP
Ink – Night of Navy
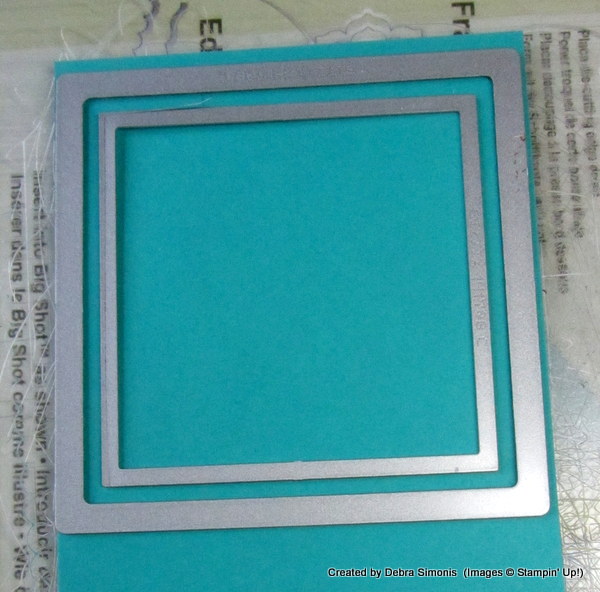
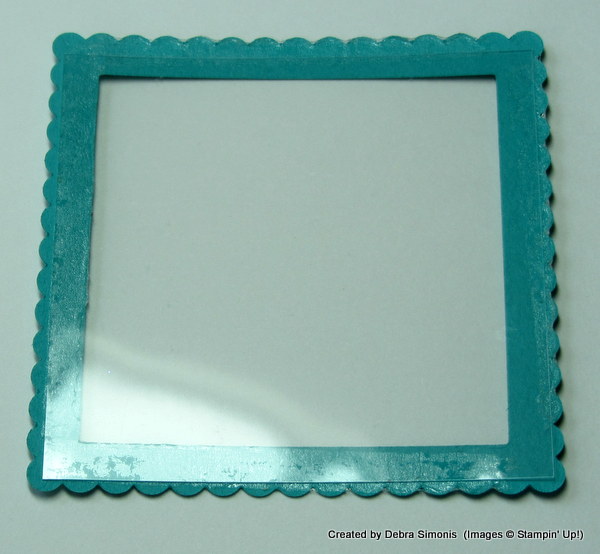
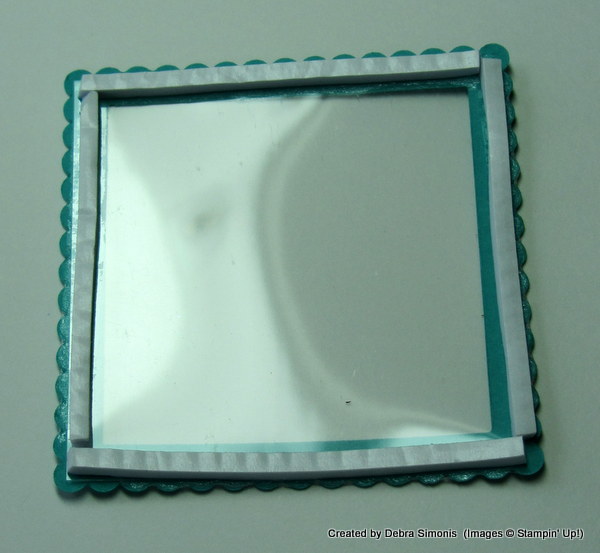
Accessories – Floral Affection Embossing Folder, Big Shot, Snail Adhesive, Stampin’ Dimensionals
I think the new embossing folder looks elegant when it is the focal point of the card. Change the sentiment and it would make a beautiful birthday card also. Don’t you just love the Navy, Crumb Cake and White color combination? I’m thinking about having a Navy and White Card Class – what do you think?
Shop on-line for your stamping/memory keeping supplies. The items underlined above are in the 2016-2017 Annual Stampin’ Up! Catalog and will be available for purchase on June 1st.
Thanks for stopping by. Visit me on Facebook at Deb’s Stampin’ Grounds for more inspiration.
Happy Stamping!
Deb